Compartilhe em Sua Rede Social:


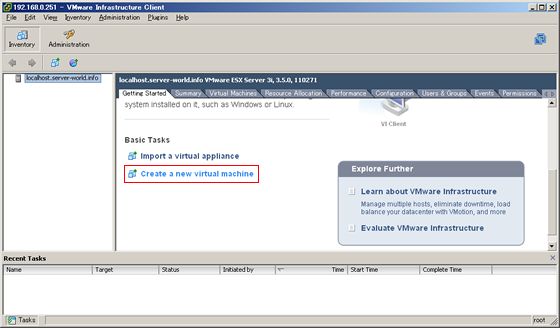
| [1] | Access to ESXi from client and Click “Create a new virtual machine”. |
 |
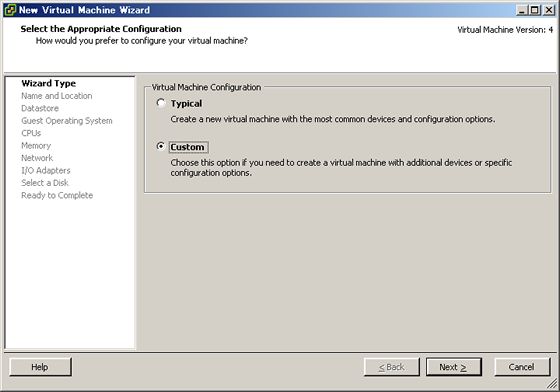
| [2] | Select “Custom” and go next. |
 |
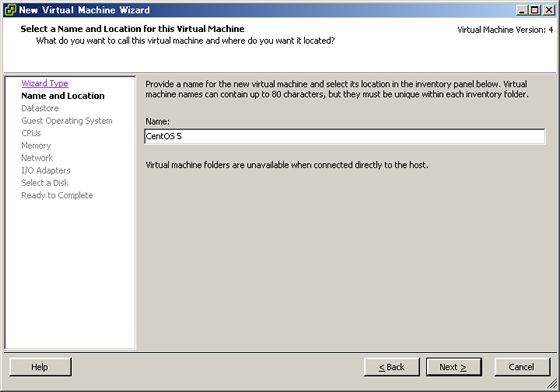
| [3] | Input any name for Guest. |
 |
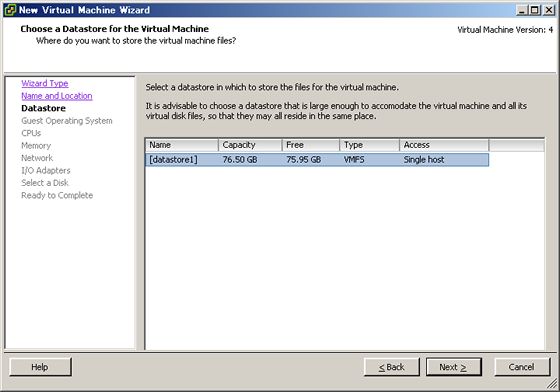
| [4] | Specify the place for files of Guest. |
 |
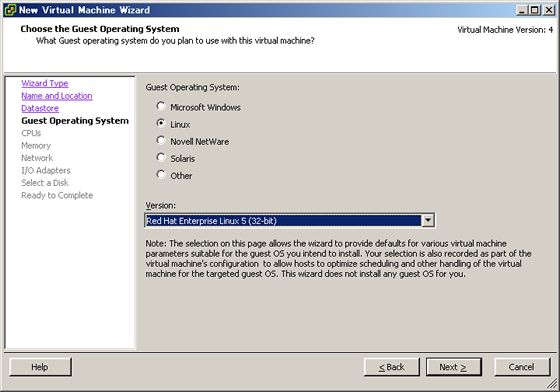
| [5] | Select Operationg system. This example shows to use CentOS 5, so select RHEL 5 or Other Linux. |
 |
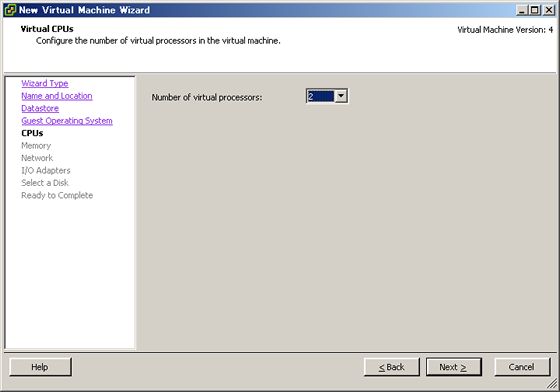
| [6] | Specify the number of virtual CPUs. |
 |
| [7] | Specify the amount of memories. |
 |
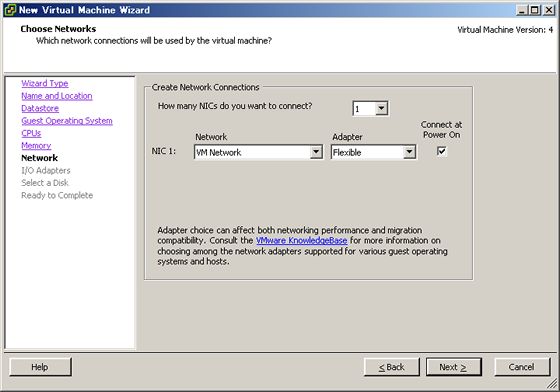
| [8] | Specify the settings for networking. |
 |
| [9] | Specify I/O adapter. |
 |
| [10] | Select virtual disks. |
 |
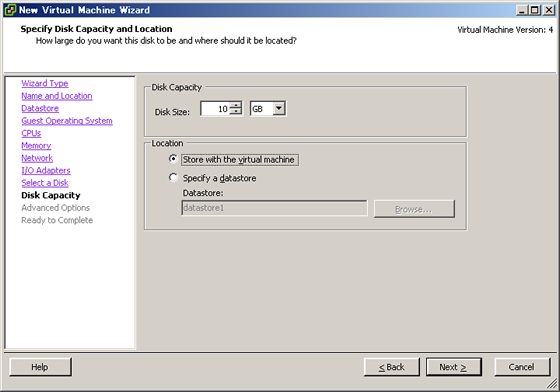
| [11] | Specify the amount of virtual disks. |
 |
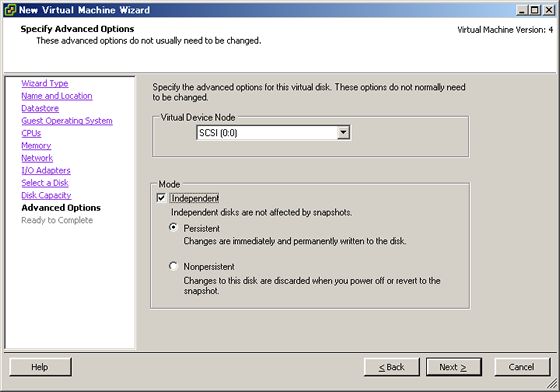
| [12] | It’s OK to keep default settings here. |
 |
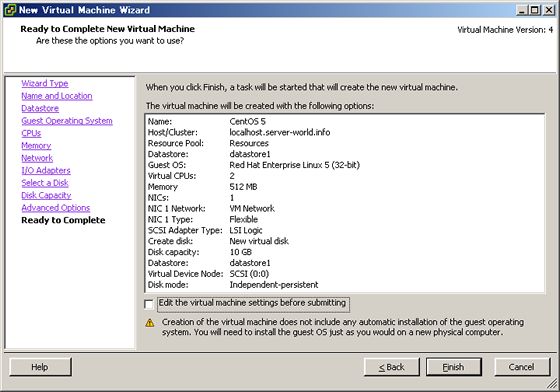
| [13] | Click “Finish” to finish to create virtual machine. |
 |
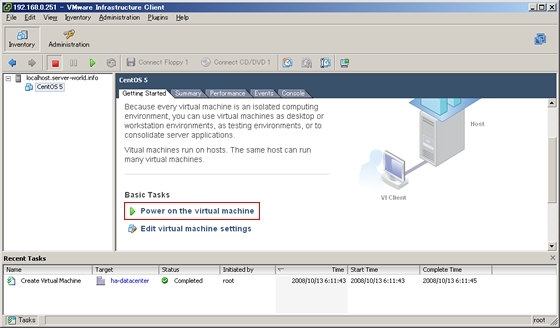
| [14] | After finishing, new virtual machine’s name is shown on left menu, point it and Click “Power on” on right menu like below to start virtual machine. |
 |
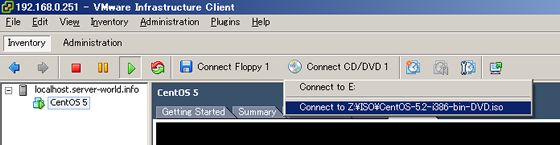
| [15] | CentOS 5 is not installed yet. Insert CD/DVD of CentOS 5 on ESXi’s computer or select iso-file on local like below. After selecting the place, push “Ctrl + Alt + Insert” key to reboot virtual machine. |
 |
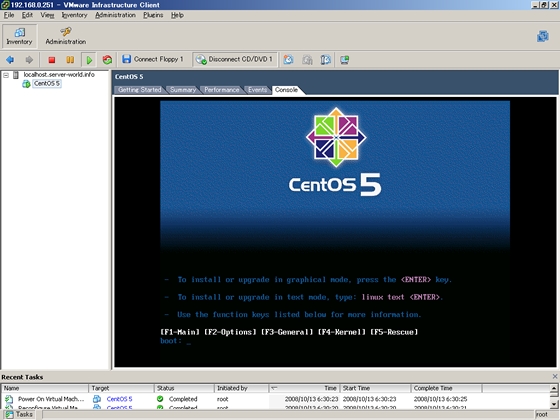
| [16] | Installer starts normally like below. |
 |
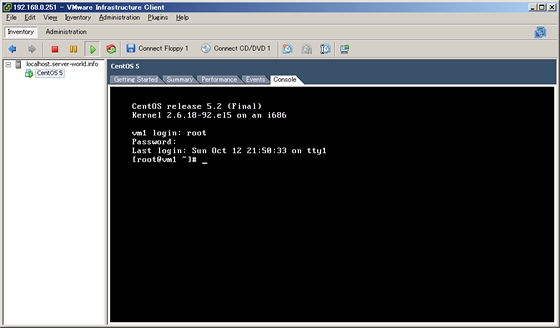
| [17] | Installing is finished and CentOS 5 is booted normally like below. |
 |
Créditos desse tutorial server-world.info